Tag: How-to

  • Why Your Gummies Are Sweaty, Sticky, or Greasy — and How to Cure It

    Why Your Gummies Are Sweaty, Sticky, or Greasy — and How to Cure It

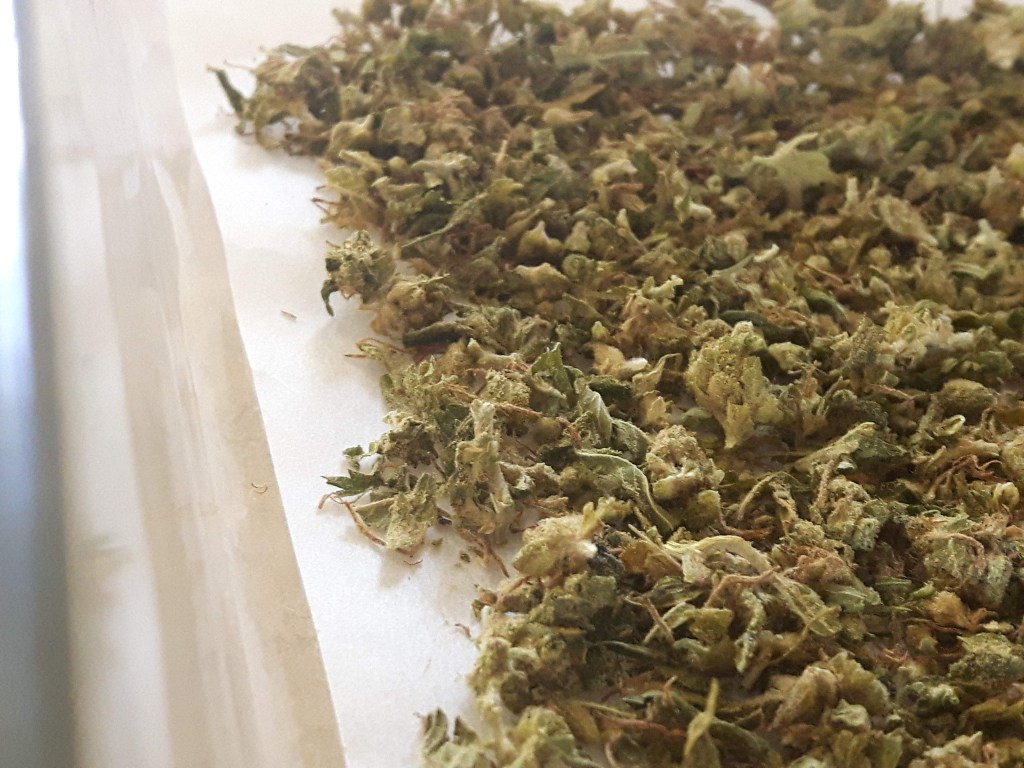
    Hydrocolloids, specifically gummies, are a great way to medicate and get started in making lifted edibles and in these parts are considered staples.

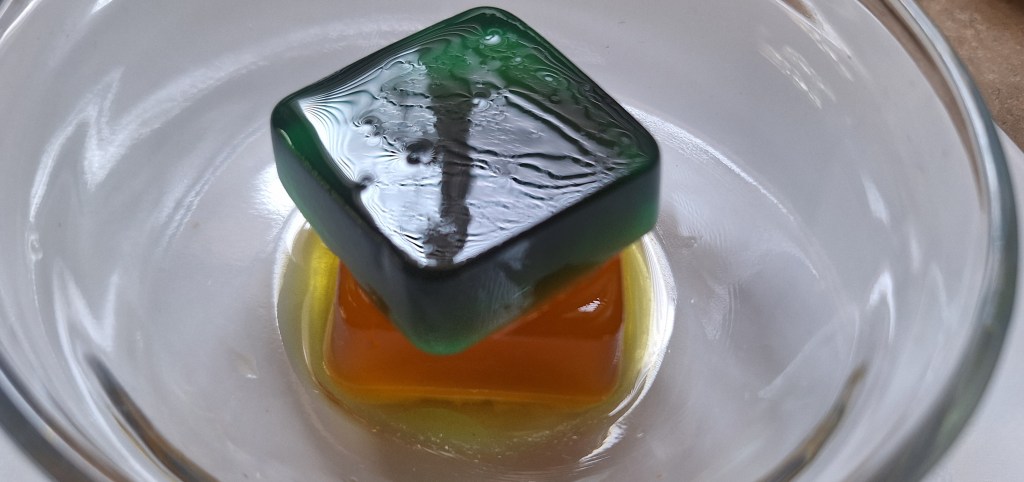
    Imagine my surprise when I tucked into the ziploc for a wee treat and could barely get a grip with two fingers and thumbs because they were slick from a noticeable coating of oil. 

    Turns out I may not have cured my confections correctly. 

    If your MCT oil–based gummies are coming out sticky, sweaty, or greasy, don’t panic — it’s a common issue that usually comes down to moisture management and formulation balance. Even for home-made gummies, dialing in your curing and storage process is key to producing confections with a clean, dry finish and long shelf life.

    What’s Going On?

    Sticky or greasy gummies are almost always reacting to moisture in some way — either from the environment or from ingredients that weren’t fully set during curing. Here are the main contributors:

    Humidity: Gummies are hygroscopic, meaning they absorb moisture from the air. If your curing or storage area is too humid, they’ll start to feel tacky or oily.

    Incomplete Curing: If gummies haven’t dried out properly after molding, residual water and oil can migrate to the surface and cause sweating.

    Sugars: High levels of reducing sugars (like glucose or fructose) can lead to stickiness, especially under humid conditions. My standard recipe calls for a quarter cup (60 ml) of honey, which is high in fructose.

    Humectants: Ingredients like glycerin and sorbitol hold onto water — great for softness, but risky for shelf stability if overused. In this case, I’ve been using a liquid soy lecithin somewhat indiscriminately. May have to switch to a powdered version. 

    Poor Storage: Even a well-cured gummy can go soft again if stored in humid conditions or in packaging that doesn’t fully seal out air.

    Lecithin and Humidity – What You Should Know

    Liquid soy lecithin is a common emulsifier in cannabis gummies, helping bind water- and oil-based ingredients together (especially if you’re infusing with MCT oil). But it also has a tendency to attract and hold moisture. In high-humidity environments, lecithin can absorb ambient moisture, which contributes to surface tackiness and unstable texture.

    If you’re working with liquid lecithin in a damp kitchen or during a rainy spell, expect a longer curing time. You may also want to reduce the lecithin slightly or switch to a powdered lecithin, which tends to be a bit less hygroscopic.

    Cannabis-Specific Curing Considerations

    Infused gummies need special care because of the active ingredients. THC and other cannabinoids can degrade with heat, light, and oxygen, so while curing is important, don’t cure them in hot or brightly lit spaces.

    MCT oil can also “sweat” out of a gummy if the emulsion breaks down — often due to temperature shifts or moisture imbalance. If you see oil beading on the surface, the emulsion may need fine-tuning (or a lecithin adjustment).

    Proper curing helps stabilize potency, ensuring cannabinoids are evenly distributed and not lost to sweating or surface stickiness.

    How to Fix It

    Here’s how to keep your gummies firm, dry, and shelf-stable.

    Cure Smart: Let gummies cure uncovered at room temperature (~70°F / 21°C) with humidity between 30–35 per cent. Depending on the recipe and ambient moisture, curing may take 24–72 hours. 

    Avoid Refrigeration (Mostly): A fridge can create condensation unless it’s humidity-controlled. Stick with a dry pantry or curing rack in a closed room with a dehumidifier if needed.

    Use the Right Packaging: Go for airtight, moisture-resistant containers. Heat-sealed mylar bags or food-safe jars with desiccant packs are ideal.

    Refine the Formula: If stickiness continues, reduce humectants, slightly lower your sugar content, or switch from liquid to powdered lecithin.

    Want more cannabis kitchen tips? Explore infusion techniques, ingredient ratios, and shelf-stability strategies at cookingwithcannabis.ca — the art of elevating your menu.

  • Calculating Dosage

    Calculating Dosage

    Because, who doesn’t love math?

    Calculating the dosage of cannabis-infused edibles is a critical aspect of cannabis cooking, ensuring both safety and efficacy. Cheri Sicard, a renowned cannabis chef and author, provides a comprehensive manual method for determining THC content in homemade edibles. Her approach, detailed in her writings, offers a systematic way to estimate the potency of your culinary creations.

    Understanding THC Content in Cannabis

    The first step in calculating dosage is to understand the THC (tetrahydrocannabinol) content of the cannabis you’re using. THC is the primary psychoactive compound in cannabis, and its concentration can vary widely. If you have access to lab-tested cannabis, you’ll have precise THC percentages. However, if such information isn’t available, estimates are necessary.

    For estimation purposes, using a 10% THC content is a reasonable starting point.

    The Calculation Process

    1. Determine THC per Gram

    One gram of cannabis weighs 1,000 milligrams.
    Assuming 10 per cent THC, each gram contains approximately 100 milligrams of THC (10 per cent of 1,000 mg).

    2. Calculate Total THC in the Infusion

    Decide how much cannabis you’ll use in your infusion.
    So using a full ounce (28 grams) of cannabis with 10 per cent THC to make one cup of butter, the calculation looks like this:

    28 grams × 100 mg THC/gram = 2,800 mg THC

    3. Determine THC per Serving:

    Consider the amount of infused butter used in a recipe. This is where you figure out how strong each piece really is.

    Let’ say your recipe calls for a half-cup of this butter. Since 1 cup = 2,800 mg THC, ½ cup = 1,400 mg THC.

    Now divide this amount by the number of portions you are making. So in this case, that half-cup of cannabutter is used to make 36 cookies: 1,400 mg THC ÷ 36 cookies ≈ 38.8 mg THC per cookie.

    Adjusting Dosage

    If the calculated dosage per serving is higher than desired, you can adjust.

    Diluting the Infusion Mix the cannabis-infused butter or oil with regular butter or oil to reduce the THC concentration.

    Reducing Infused Ingredient Quantity. Essentially, use less of the infused ingredient in the recipe and supplement with non-infused counterparts, like regular butter.

    Conversely, if the dosage is too low, you can:

    Increase Infused Ingredient: Use more of the cannabis-infused butter or oil.

    Enhance with Concentrates: Add decarboxylated cannabis concentrates like kief, hash, or hash oil to boost potency.

    Factors Influencing Dosage Accuracy

    This is NOT an exact science! Edibles, especially home made, can be inconsistent. Several variables can affect the accuracy of your dosage calculations:

    Decarboxylation: Perhaps the most critical step, properly heating cannabis to activate THC is crucial. Incomplete decarboxylation can result in lower potency.

    Cannabis Potency Variability: Without lab testing, THC content is an estimate, and actual potency may vary.

    Extraction Efficiency: The method and duration of infusion can influence how much THC is transferred to the butter or oil.

    Practical Tips for Home Cooks

    Start Low and Go Slow: Especially for those new to edibles, begin with lower doses to gauge individual tolerance.

    Keep Detailed Records: Note the amounts of cannabis used, THC estimates, infusion methods, and personal effects to refine future preparations.

    Use Dosage Calculators: Online tools can assist in estimating THC per serving, enhancing accuracy.

    Accurately calculating the dosage of cannabis-infused edibles is essential for a safe and enjoyable experience. By following Cheri Sicard’s outlined procedure, home cooks can make informed decisions about the potency of their creations. Always consider individual tolerance levels and start with conservative dosages, adjusting as needed based on personal experience and desired effects.

    As always, consume at your own risk. Please respect the cannabis laws of your jurisdiction. Do NOT get lifted and drive or operate heavy machinery.

  • Begin at the beginning – Decarboxylation

    Begin at the beginning – Decarboxylation

    Before you can get busy making magic, you have to set the stage.

    With edibles, it isn’t enough to just toss a handful of bud into the sauce and call it a day. There is a critical step necessary to make a lifted meal – decarboxylation.

    DECARBOXYLATION

    What is this and why you need to do it

    Simply put, decarboxylation is making raw cannabis flowers psychoactive. 

    This is done by using a low heat to turn tetrahydrocannabinolic acid (THCA) into Delta 9-tetrahydrocannabinol (THC). This process occurs automatically when you combust the plant, ie. Spark-up a joint or a bong. Once the herb is decarboxylated, it becomes psychoactive and can be used to infuse fats and alcohol, or even eaten as-is if that’s your preference.

    Cannabis flowers are the buds of female plants. They are covered with trichomes which contain terpenes. The ones that get the most attention are THC and CBD (cannabidiol).

    You can’t just use raw flower in cooking. The psychoactive chemical that gets you lifted is in the form of THCA. You need to get rid of the A and that’s done with heat. 

    Going forward, on this blog decarboxylation means to bake your weed at 240 F (325 C) for 30-40 minutes. 

    This is a basic procedure but is not the only way. Many variables can be manipulated, including time and temperature, all with the goal of customizing the experience, ie. which terpenes are being activated. You can make this as simple or as fussy as you like. Regardless, to put it in food you need to heat the flower first. You are encouraged to explore other techniques and procedures to discover what works best for you.

    Basic Procedure for Decarboxylating Cannabis Flower

    Decarboxylation is the name for changing THCA into THC by heating the cannabis 240 F for 20-40 minutes.

    There are two main ways to decarboxylate:

    1. Conventional oven – almost everyone has access to an oven. Make certain to cover your herbs with tinfoil or use an oven-proof and smell-proof container as things can become rather fragrant.
      1. Coarsely grind your buds.
      2. Place in an oven safe dish or on a parchment lined cookie sheet and cover with foil to minimize the smell
      3. Toast your flower 240 F (115 C) for 20-40 minutes. Rule of thumb, the shorter the time, the higher the temperature. Adjusting the time and temperature will allow you to activate different terpenes to achieve different effects. 
      4. Let cool. Store in an airtight container in a cool, dark place.
    2. Sous vide – Sous vide is a type of low temperature, long time cooking. The main advantage is more THCA is converted to THC, and the smell is considerably reduced. The downside is it takes longer and you have to buy specialized gear (the immersion blender or water water bath)
      1. Seal ground bud in a freezer safe resealable plastic bag, vacuum-sealed bag, or a mason jar. If using a freezer bag, place your ground cannabis in the bag. Add something to weigh it down or it will float to the surface. Immerse the bag in the water, which will push the air out. Seal the bag.
      2. Set your sous vide device (an immersion circulator or water bath) for 90 minutes at 203 F (95 C)
      3. Immerse cannabis
      4. When time is up, remove from water and let cool. Store in a glass jar with a lid in a cool, dark place.

    Tags: Decarboxylation, Basics, How-to