Tag: food

  • Blanching Cannabis Before Decarboxylation: A Step-by-Step Guide

    Blanching Cannabis Before Decarboxylation: A Step-by-Step Guide

    When it comes to cooking with cannabis, achieving the perfect balance of potency and flavour can elevate your culinary creations. One often-overlooked technique that can enhance both is blanching cannabis before decarboxylation. Popularized by Jeff the 420 Chef, this method removes impurities and some of the plant’s bitter taste, making it a preferred choice for those who value a cleaner flavour profile.
    In this guide, we’ll explore the benefits of blanching cannabis, provide a step-by-step overview of the process, and explain how it integrates seamlessly into decarboxylation to prepare your cannabis for edibles.


    Why Blanch Cannabis?
    Blanching is a technique that briefly submerges cannabis in boiling water, followed by immediate cooling in an ice bath. This process is widely used in vegetable preparation to preserve colour, texture and nutrients, but its application in cannabis has an additional purpose.
    When cannabis is blanched, the water helps remove chlorophyll, excess plant material, and impurities that contribute to its harsh taste and aroma. By doing so, the resulting cannabis butter or oil carries a milder flavour, allowing the intended ingredients of your recipe to shine without being overpowered by the earthy, grassy notes of unprocessed cannabis.
    Moreover, blanching can help reduce some of the undesirable compounds in cannabis, such as pesticides or residual solvents that may be present in poorly processed plant material. While it’s not a substitute for sourcing high-quality cannabis, blanching offers an added layer of purification.


    The Jeff the 420 Chef Approach
    Jeff the 420 Chef is a pioneer in the art of crafting gourmet cannabis-infused edibles. His unique approach to blanching cannabis has gained popularity among home cooks and cannabis enthusiasts alike. By incorporating blanching into his process, Jeff ensures that his infusions are not only potent but also palatable and accessible to a broader audience.
    Here’s a simplified version of his procedure:


    Boil water: Bring a pot of water to a rolling boil. Ensure the pot is large enough to allow the cannabis to move freely without overcrowding.

    Prepare the ice bath: Fill a large bowl with cold water and ice. This will be used to stop the cooking process immediately after blanching.

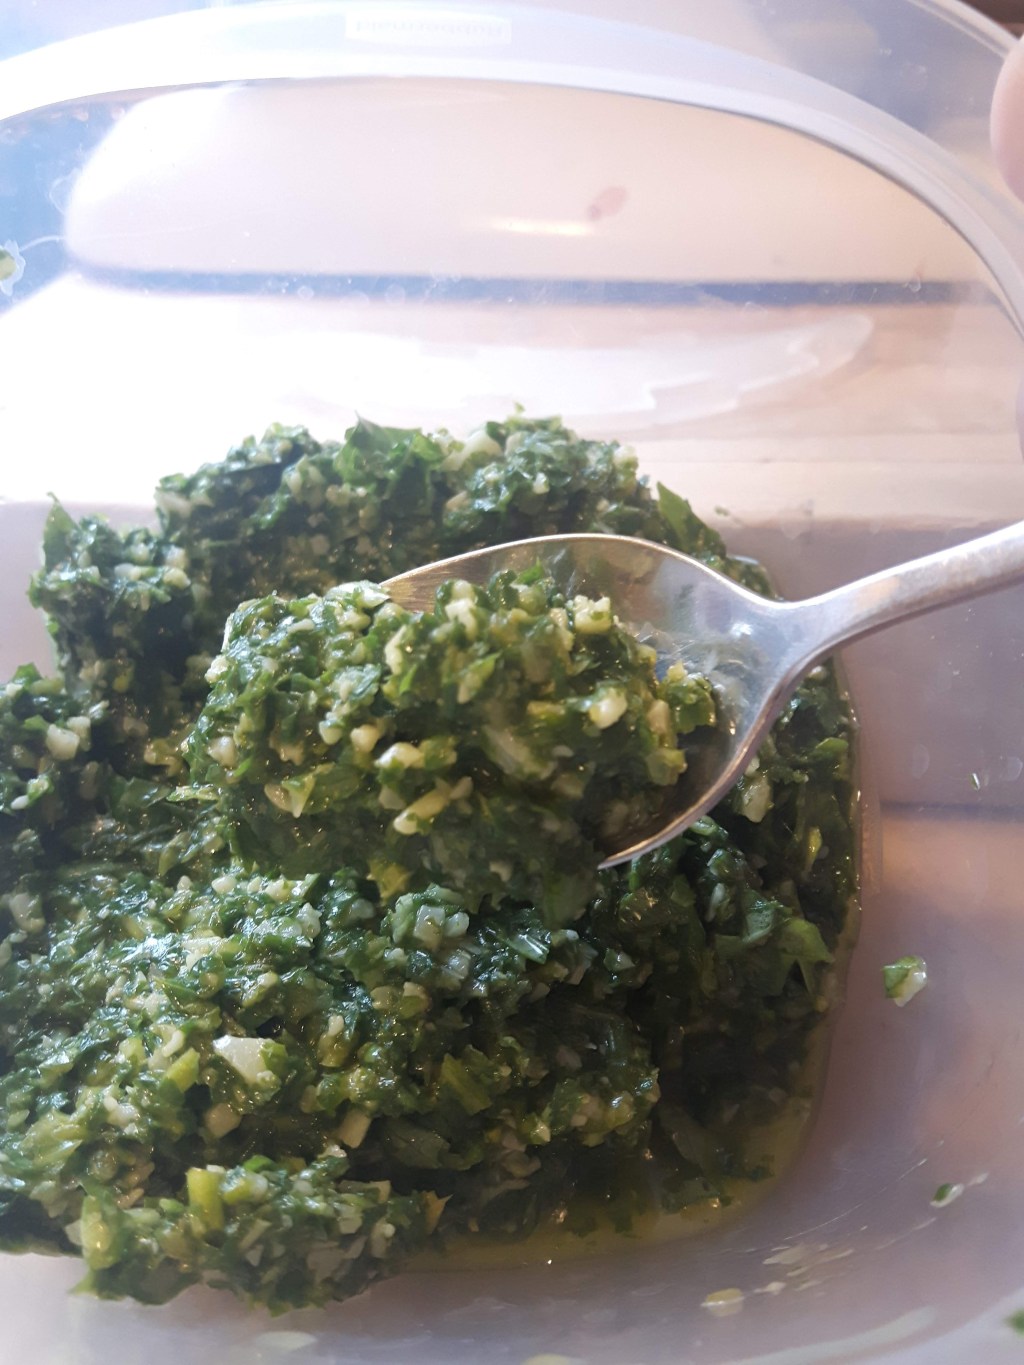
    Blanch the cannabis: Add your cannabis to the boiling water. Use a slotted spoon or mesh strainer to ensure easy handling. Allow the cannabis to blanch for about 5 minutes.

    Shock the cannabis: Immediately transfer the cannabis from the boiling water to the ice bath. Let it cool completely to stop the cooking process and preserve the integrity of the plant material.

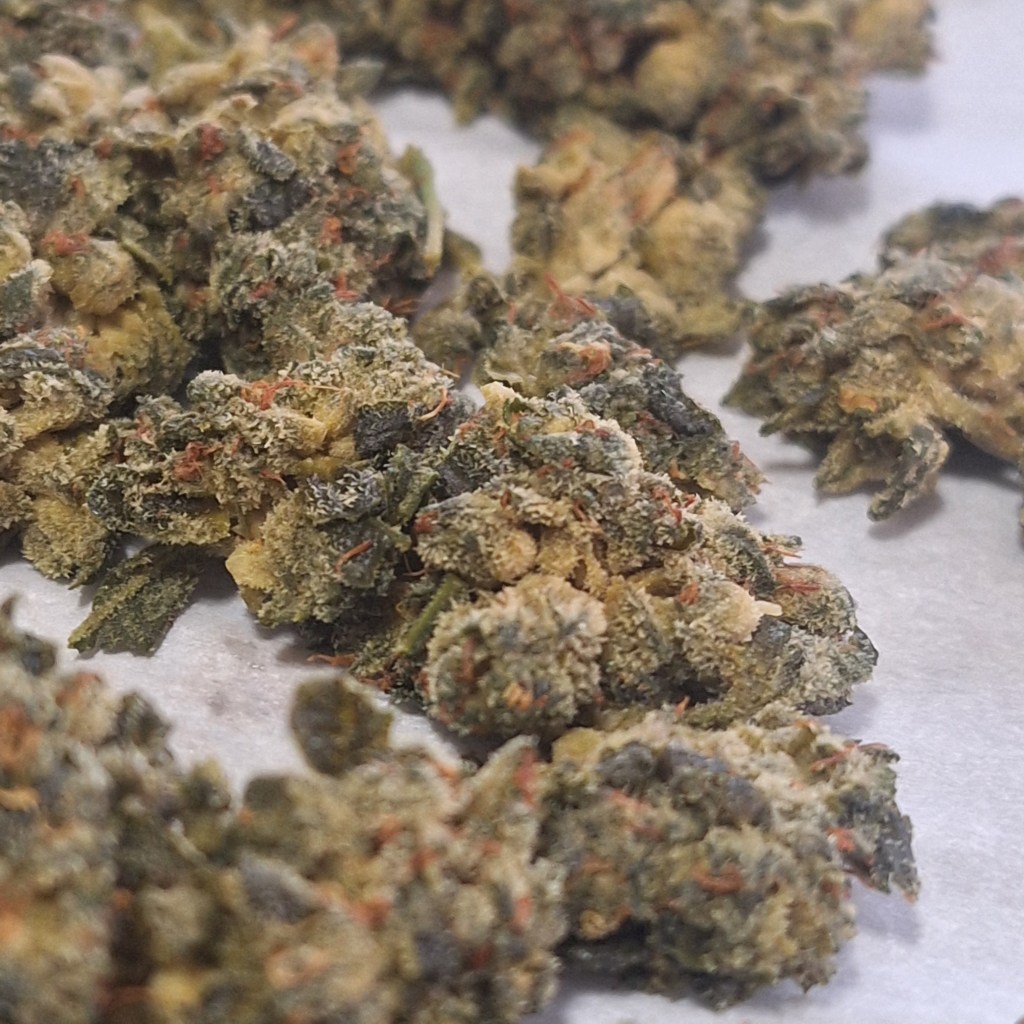
    Dry the cannabis: Remove the cannabis from the ice bath and gently pat it dry with a clean kitchen towel or paper towels. Spread the cannabis out on a parchment-lined baking sheet to air-dry completely before proceeding with decarboxylation.

    Benefits of Blanching
    Blanching cannabis offers several key advantages for those cooking with it:
    Improved flavour: By removing chlorophyll and impurities, the harsh, bitter taste often associated with cannabis is significantly reduced. This makes your edibles more enjoyable for those who prefer subtler cannabis flavours.

    Cleaner infusions: The process helps remove unwanted compounds, leading to purer cannabis butter or oil. This is particularly important when creating recipes where cannabis plays a supporting role, rather than being the dominant flavour.

    Enhanced versatility: Blanched cannabis pairs better with delicate dishes, such as desserts or savoury recipes with subtle seasoning, as the flavour profile becomes less overpowering.

    Odour reduction: For those concerned about the smell of cannabis during the cooking process, blanching can minimize the pungent aroma typically associated with decarboxylation.

    Decarboxylation After Blanching
    After blanching, the next step is decarboxylation, the process that activates the cannabinoids in cannabis. Decarboxylation involves heating the cannabis at a low temperature to convert THCA into THC, the compound responsible for cannabis’s psychoactive effects.

    Decarboxylate your blanched flower in the oven. Pre-heat your oven to 240°F (115°C). Grind your herb to desired consistency and spread on the parchment paper covering the cookie sheet. Cover with Tinfoil and crimp around edges. Bake for 30-40 minutes. Store in an airtight container in a cool, dark place until ready to use.

    Blanching cannabis before decarboxylation is a simple yet transformative step for those who want to create high-quality cannabis-infused edibles. By following Jeff the 420 Chef’s method, you can elevate the flavour, purity and overall enjoyment of your creations.
    While the process adds an extra step to your preparation, the benefits far outweigh the effort. Whether you’re crafting a delicate dessert or a savoury main course, blanched cannabis ensures that the taste of your dish remains front and centre, with cannabis playing a subtle yet effective supporting role.
    Experiment with this method in your next infusion, and experience the difference it can make in the world of cannabis edibles.

  • The Basics of Infusion

    The Basics of Infusion

    When making cannabis edibles, the most important thing after decarboxylation is infusion.

    Decarbing is critical because this is the process that changes THCA on the raw coalas and sugar leaves into psychoactive THC ready to do its magic. Infusion is the process of getting the THC into a solvent, typically some kind of lipid (fat), like butter, ghee, oil, or even high fat dairy and alcohol. This is how you get THC into your food.

    Cannabis-infused basics such as butter, oils, and tinctures are the foundation of many edible recipes. Mastering these preparations allows you to explore countless culinary possibilities while enjoying the benefits of cannabis. This essay will guide you through three fundamental infusion methods: cannabis butter or ghee, cannabis-infused oils (olive and MCT), and a quick wash method for creating a basic tincture, or Golden Dragon because of the beautiful amber colour. 

    Infusion is the process of getting the THC into a solvent, typically some kind of lipid (fat), like butter, ghee, oil, or even high fat dairy and alcohol. This is how you get THC into your food.]

    Why Infuse Cannabis?

    Infusing cannabis into fats or alcohol enables the cannabinoids (such as THC and CBD) to bind effectively, making them bioavailable when consumed. These infused preparations can be used as ingredients in a variety of recipes or as standalone products. Remember to decarboxylate your cannabis before infusing to activate the cannabinoids for maximum potency.

    Recipe 1: Cannabis Butter or Ghee

    Cannabis-infused butter is a classic and versatile option for edibles. Ghee, or clarified butter, is an excellent alternative for its longer shelf life and nutty flavor.

    Ingredients:

    • 1 cup (250 mL) unsalted butter or ghee
    • 1 cup (250 mL) water
    • About an eighth (7–10 g) decarboxylated cannabis (flower or trim)

    Instructions:

    1. In a saucepan, melt the butter or ghee with water over low heat.
    2. Add the decarboxylated cannabis and stir well.
    3. Simmer on the lowest setting for 2–3 hours, stirring occasionally. Ensure the mixture does not boil.
    4. Strain the mixture through a fine mesh strainer or cheesecloth into a clean container. Discard the plant material.
    5. Allow the mixture to cool at room temperature, then refrigerate until the butter solidifies. Discard any excess water.
    6. Store in an airtight container in the refrigerator for up to 2 weeks or freeze for longer storage. Makes approximately 1 cup (250 mL).

    Recipe 2: Cannabis-Infused Oil (Olive and MCT)

    Infused oils are perfect for salad dressings, sautéing, or adding to smoothies. They work especially well with pestos, relishes, and chutneys. MCT oil is particularly popular for its coconut flavor and rapid absorption.

    Ingredients:

    • 1 cup (250 mL) olive oil or MCT oil
    • About an eighth (7–10 g) decarboxylated cannabis (flower or trim)

    Instructions:

    1. In a double boiler or a heat-safe bowl over a pot of simmering water, combine the oil and decarboxylated cannabis.
    2. Heat on low for 2–3 hours, stirring occasionally to ensure even infusion.
    3. Strain the oil through a fine mesh strainer or cheesecloth into a sterilized jar. Discard the plant material.
    4. Store the oil in a cool, dark place for up to 3 months. Makes approximately 1 cup (250 mL).

    Recipe 3: Quick Wash Tincture Using High-Proof Alcohol

    A tincture is a fast-acting, versatile cannabis preparation that can be used sublingually or added to drinks and recipes.

    Ingredients:

    • ABout an eighth (7–10 g) decarboxylated cannabis (flower or trim)
    • 1 cup (250 mL) high-proof alcohol (95% grain alcohol like Everclear or Cruxx)

    Instructions:

    1. Place the cannabis in a freezer-safe container and freeze it along with the alcohol for at least 24 hours.
    2. Remove both from the freezer and combine in the container.
    3. Shake the mixture vigorously for 2–3 minutes.
    4. Strain the liquid through a fine mesh strainer or cheesecloth into a dark glass bottle with a dropper.
    5. Store in a cool, dark place for up to 6 months. Makes approximately 1 cup (250 mL).

    Dosing and Storage

    1. Start Low, Go Slow: Always begin with small amounts to gauge potency, especially if you’re new to edibles. 
    2. Label Clearly: Ensure all infused preparations are clearly marked to prevent accidental consumption.
    3. Storage: Keep infused products out of reach of children and pets.
    4. Testing: Use a home testing kit or consult a lab to determine the potency of your infusions if accuracy is critical.]

    Mastering these basic cannabis infusion methods opens the door to a world of culinary possibilities. Whether you’re making baked goods with cannabis butter, drizzling infused oil over a salad, or enhancing a drink with a tincture, these preparations provide a versatile foundation for exploring cannabis edibles. As always, enjoy responsibly and tailor your infusions to your personal preferences and needs.

    Consume at your own risk. Statements of potency are merely suggestions because edibles are inconsistent and lab testing is required. Please obey the laws in your jurisdiction. 

  • What to do with Sludge (and how to make Basil Pesto)

    What to do with Sludge (and how to make Basil Pesto)

    Sludge.

    It may not sound appealing, but don’t dismiss this often overlooked resource.

    Sludge is the pulp of leftover cannabis flower after Infusing a solvent. Too often thrown out, the clever cannabis cook knows this is a valuable source of fibre and THC, perfect as an addition to your cooking repertoire. 

    Solvent – the liquid in which a solute is dissolved to form a solution. Fats and fatty food, such as butter, oil, MCT and coconut oils, are solvents used to dissolve cannabis terpenes (the solutes), allowing food to become psychoactive and give you a lifted experience. See? There really is a use for high school chemistry.

    Biggest reasons to use sludge? It contains all kinds of nutrients, but I’d say fibre content and residual cannabinoids are the two main benefits. And you’regetting more value for your cannabis dollar. Adding the sludge directly to your recipe is the easiest thing to do. Or you can extract the remaining solvent from the pulp. There are basically two ways to do this:

    1. Press it. Using a French Coffee press or a ricer, maybe even a hydraulic press used for making rosin. 
    2. Simmer in water. The oil will separate allowing you to extract the remaining terpene-rich solvent. This is the technique used in the classical cannabutter method of a crock pot, water, and butter.

    As an ingredient, cannabis is often described as having a gassy or petrol-esque pungency. It pairs well with big flavours, particularly the bitterness of coffee and chocolate and the citrus flavours of fresh fruits like berries, anything citrus, and mangoes.

    On its own, I’d compare it to Marmite or Vegemite in that it is an acquired taste – you can eat it in its own, or use it as an ingredient. (Personally, a nice dollop in a hot cocoa is a welcome addition to a lazy Sunday morning.) Just remember, cannabis is a prodigious bioaccumulator – it sucks-up damn nearly everything in the growth medium, whether that’s heavy metals in the soil of an outdoor grow, or that hydroponic kush didn’t get a final flush before harvest. You will taste that, plus the chlorophyl, which could overpower the terpenes. 

    In the accompanying recipe, I’ve paired an infused olive oil with pesto sauce. The bitterness of the cannabis is balanced with the sharpness of the parmesam cheese, the sweetness of the garlic and the freshness of the basil. 

    As with any infused recipe, start low and go slow. Consume safely in accordance with your own tolerance and local laws. 

    Basil Pesto with Cannabis-Infused Olive Oil

    This simple basil pesto recipe uses cannabis pulp, making it a versatile addition to your meals. Use it as a pasta sauce, spread, or topping for vegetables.

    Please ensure your cannabis is properly decarboxylated prior to cooking – lightly grind flower, spread evenly on a parchment-lined cookie sheet, cover with foil, and bake for 30-40 minutes at 240 F (115 C).

    Ingredients

    • 2 cups (480 ml) fresh basil leaves, tightly packed
    • ½ cup (120 ml) cannabis-infused pulp
    • ½ cup (60 g) grated Parmesan cheese
    • ⅓ cup (50 g) pine nuts or walnuts
    • 2 cloves garlic, peeled
    • Salt and pepper to taste.

    Instructions

    1. Prepare the ingredients: Rinse the basil leaves thoroughly and pat them dry.
    2. Blend the base: In a food processor or blender, combine the basil, nuts, and garlic. Pulse until the mixture is finely chopped.
    3. Incorporate the pulp: Slowly add in the cannabis-infused pulp a tablespoon at a time while the processor is running, blending until smooth.
    4. Add cheese and seasonings: Stir in the Parmesan cheese, salt, and pepper. Blend again until fully combined.
    5. Taste and adjust: Sample your pesto and adjust the seasoning if needed.

    Storage: Transfer the pesto to an airtight container. (I like to use glass.)  Store in the refrigerator for up to one week, or freeze (ice cube trays work nicely) for longer shelf life.

    Notes:

    • Adjust the amount of cannabis-infused oil to your desired potency, replacing a portion with regular olive oil if needed.
    • If freezing, pour a thin layer of regular olive oil over the top to prevent discolouration.

    Enjoy responsibly. Keep cannabis-infused products out of reach of children and pets. Start low and go slow. Respect the cannabis laws of your jurisdiction.