When making cannabis edibles, the most important thing after decarboxylation is infusion.
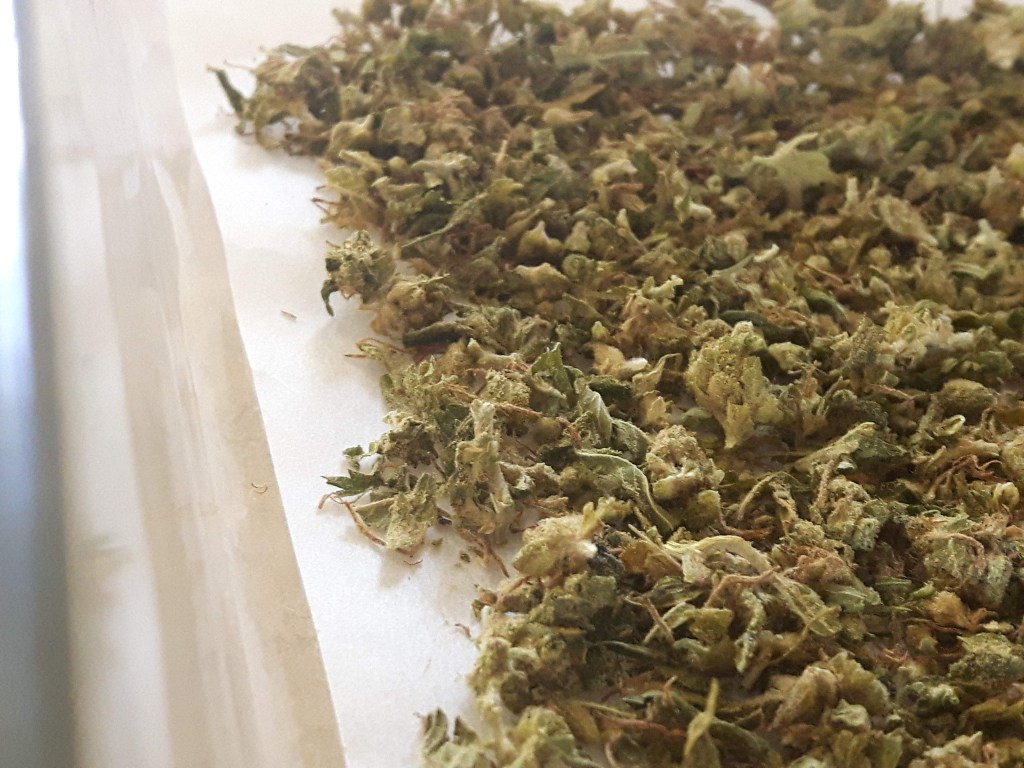
Decarbing is critical because this is the process that changes THCA on the raw coalas and sugar leaves into psychoactive THC ready to do its magic. Infusion is the process of getting the THC into a solvent, typically some kind of lipid (fat), like butter, ghee, oil, or even high fat dairy and alcohol. This is how you get THC into your food.
Cannabis-infused basics such as butter, oils, and tinctures are the foundation of many edible recipes. Mastering these preparations allows you to explore countless culinary possibilities while enjoying the benefits of cannabis. This essay will guide you through three fundamental infusion methods: cannabis butter or ghee, cannabis-infused oils (olive and MCT), and a quick wash method for creating a basic tincture, or Golden Dragon because of the beautiful amber colour.
Infusion is the process of getting the THC into a solvent, typically some kind of lipid (fat), like butter, ghee, oil, or even high fat dairy and alcohol. This is how you get THC into your food.]
Why Infuse Cannabis?
Infusing cannabis into fats or alcohol enables the cannabinoids (such as THC and CBD) to bind effectively, making them bioavailable when consumed. These infused preparations can be used as ingredients in a variety of recipes or as standalone products. Remember to decarboxylate your cannabis before infusing to activate the cannabinoids for maximum potency.
Recipe 1: Cannabis Butter or Ghee
Cannabis-infused butter is a classic and versatile option for edibles. Ghee, or clarified butter, is an excellent alternative for its longer shelf life and nutty flavor.
Ingredients:
- 1 cup (250 mL) unsalted butter or ghee
- 1 cup (250 mL) water
- About an eighth (7–10 g) decarboxylated cannabis (flower or trim)
Instructions:
- In a saucepan, melt the butter or ghee with water over low heat.
- Add the decarboxylated cannabis and stir well.
- Simmer on the lowest setting for 2–3 hours, stirring occasionally. Ensure the mixture does not boil.
- Strain the mixture through a fine mesh strainer or cheesecloth into a clean container. Discard the plant material.
- Allow the mixture to cool at room temperature, then refrigerate until the butter solidifies. Discard any excess water.
- Store in an airtight container in the refrigerator for up to 2 weeks or freeze for longer storage. Makes approximately 1 cup (250 mL).
Recipe 2: Cannabis-Infused Oil (Olive and MCT)
Infused oils are perfect for salad dressings, sautéing, or adding to smoothies. They work especially well with pestos, relishes, and chutneys. MCT oil is particularly popular for its coconut flavor and rapid absorption.
Ingredients:
- 1 cup (250 mL) olive oil or MCT oil
- About an eighth (7–10 g) decarboxylated cannabis (flower or trim)
Instructions:
- In a double boiler or a heat-safe bowl over a pot of simmering water, combine the oil and decarboxylated cannabis.
- Heat on low for 2–3 hours, stirring occasionally to ensure even infusion.
- Strain the oil through a fine mesh strainer or cheesecloth into a sterilized jar. Discard the plant material.
- Store the oil in a cool, dark place for up to 3 months. Makes approximately 1 cup (250 mL).
Recipe 3: Quick Wash Tincture Using High-Proof Alcohol
A tincture is a fast-acting, versatile cannabis preparation that can be used sublingually or added to drinks and recipes.
Ingredients:
- ABout an eighth (7–10 g) decarboxylated cannabis (flower or trim)
- 1 cup (250 mL) high-proof alcohol (95% grain alcohol like Everclear or Cruxx)
Instructions:
- Place the cannabis in a freezer-safe container and freeze it along with the alcohol for at least 24 hours.
- Remove both from the freezer and combine in the container.
- Shake the mixture vigorously for 2–3 minutes.
- Strain the liquid through a fine mesh strainer or cheesecloth into a dark glass bottle with a dropper.
- Store in a cool, dark place for up to 6 months. Makes approximately 1 cup (250 mL).
Dosing and Storage
- Start Low, Go Slow: Always begin with small amounts to gauge potency, especially if you’re new to edibles.
- Label Clearly: Ensure all infused preparations are clearly marked to prevent accidental consumption.
- Storage: Keep infused products out of reach of children and pets.
- Testing: Use a home testing kit or consult a lab to determine the potency of your infusions if accuracy is critical.]
Mastering these basic cannabis infusion methods opens the door to a world of culinary possibilities. Whether you’re making baked goods with cannabis butter, drizzling infused oil over a salad, or enhancing a drink with a tincture, these preparations provide a versatile foundation for exploring cannabis edibles. As always, enjoy responsibly and tailor your infusions to your personal preferences and needs.
Consume at your own risk. Statements of potency are merely suggestions because edibles are inconsistent and lab testing is required. Please obey the laws in your jurisdiction.